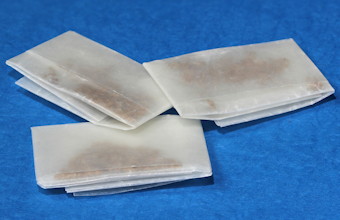
Making your own packets is a way to
- help out the Seed Bank
- control how much seed each person gets that you donate
- know exactly how much credit you get for your seed
Please make sure your seeds are clean before you packet them. If your seeds are not clean they will not be able to be used unless they are unpacketed, cleaned, and repacketed. Please see the instructions on cleaning seeds and clean your seeds before packeting.
The Seed Bank will put the packets in paper envelopes and label them. It makes it more difficult for me and increases the chance of errors if the seeds packets aren't done in a uniform manner. You just need to put the seed packets for each species or variety into a separate, labeled envelope and send them to the Seed Bank in a padded mailer.
The Seed Bank uses waxed paper because it breaths, is stiff and easy to fold, and somewhat transparent so the seed can be seen as the packet is folded. You may use regular paper, it is just more difficult to deal with.
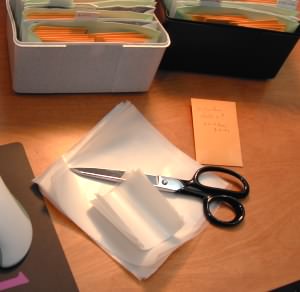
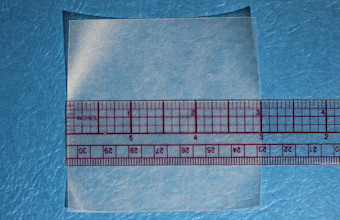
To start, you need to make 3 inch by 3 inch squares of waxed paper. Waxed paper in the USA is 12 inches wide. If your waxed paper comes in a different width, choose a size that can be conveniently cut into pieces on the order of 7 cm square. Pieces about 7 cm square are easiest to handle. Some members use smaller pieces of paper and I don't know how they do it.
For the Seed Bank I cut 160 squares at a time with a paper cutter. I tear off sheets about 13 inches long. Starting with a stack of 10 sheets, I trim them down to 12 inches with neat edges. I then cut them in half over and over to get 3 x 3 inch squares.
If you are using a scissors, 4 sheets is about the maximum you can start with at one time. Do not obsess over getting the pieces exactly 3 inches on a side.
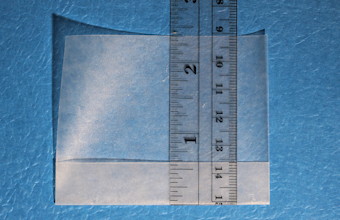
To get started, fold up one edge about 5/8 of an inch. Measure one and fold the rest more or less to match the first. If your paper is not 3 inches square, use slightly more than 1/5 of the length.
The reason for 5/8 of an inch is it gives 4 equal folds with the last part slightly smaller. This is important for the last step where the packet is locked closed folding into a flap.
Notice I am folding across the bend caused by the paper being manufactured onto a roll.
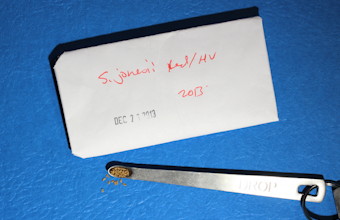
For large seeds like Sarracenia, you can measure out the seeds using a "drop" size measuring spoon. For Nepenthes, use a large pinch with your finger. Drosera and other small seeds have to be carefully poured out of an envelope. I am told there are nose picking spoons that can be used for small seeds as well as very small spoons you can make yourself from steel cans or other thin, stiff metal.
You will learn quickly not to sneeze during this process.
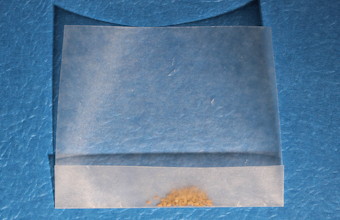
Put the seeds in the center against the fold.
It is important during this whole process you do not rotate the seeds. You want to fold the paper around them. If you rotate the seeds they will move up the paper as you turn them.
I generally do this over a piece of plain white paper so I can see any seeds that may get dropped.
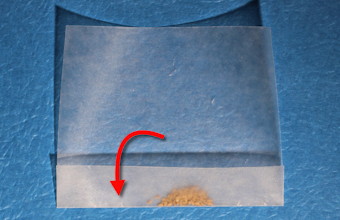
Pick up the paper on the sides of the folded part and fold the longer part down over the folded part.
This takes a little practice.
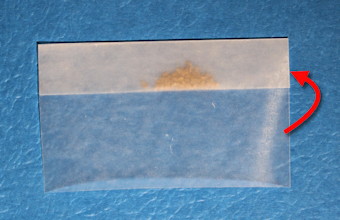
Next fold under.
Don't sneeze yet. The ends aren't folded.
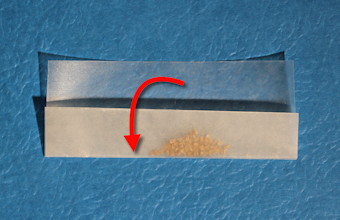
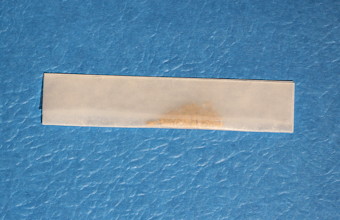
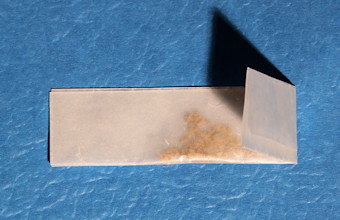
Now we do the end folds. They should be a little less than one third of the total width.
Turn over and fold so the flaps are on the outside of the fold.
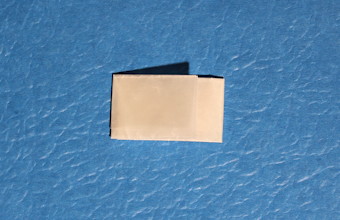
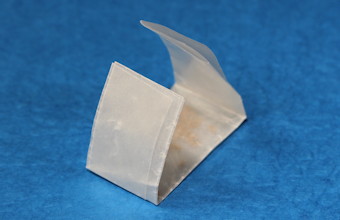
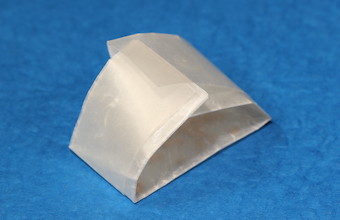
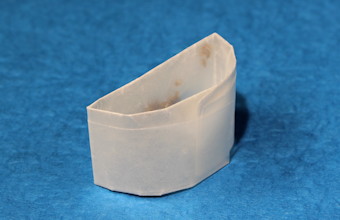
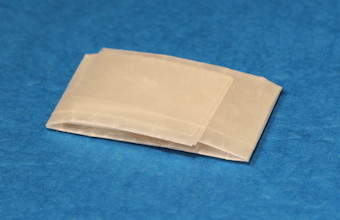
And we are done.
We have a packet that will stay closed and the seeds secure without using tape.
Never use tape around seeds.
